
Fitting Guide
STEP ONE
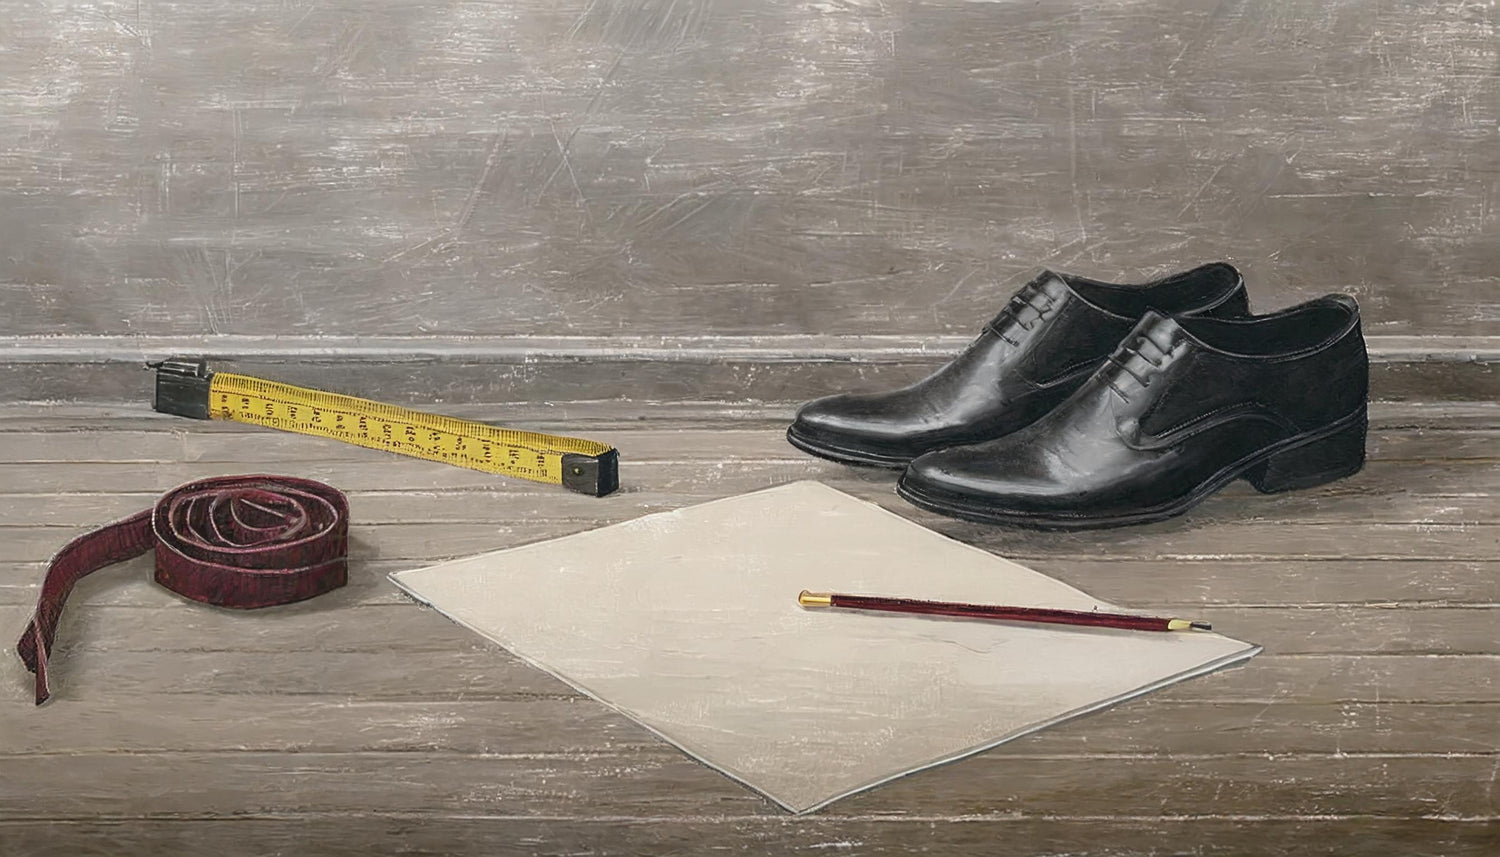
The tools!
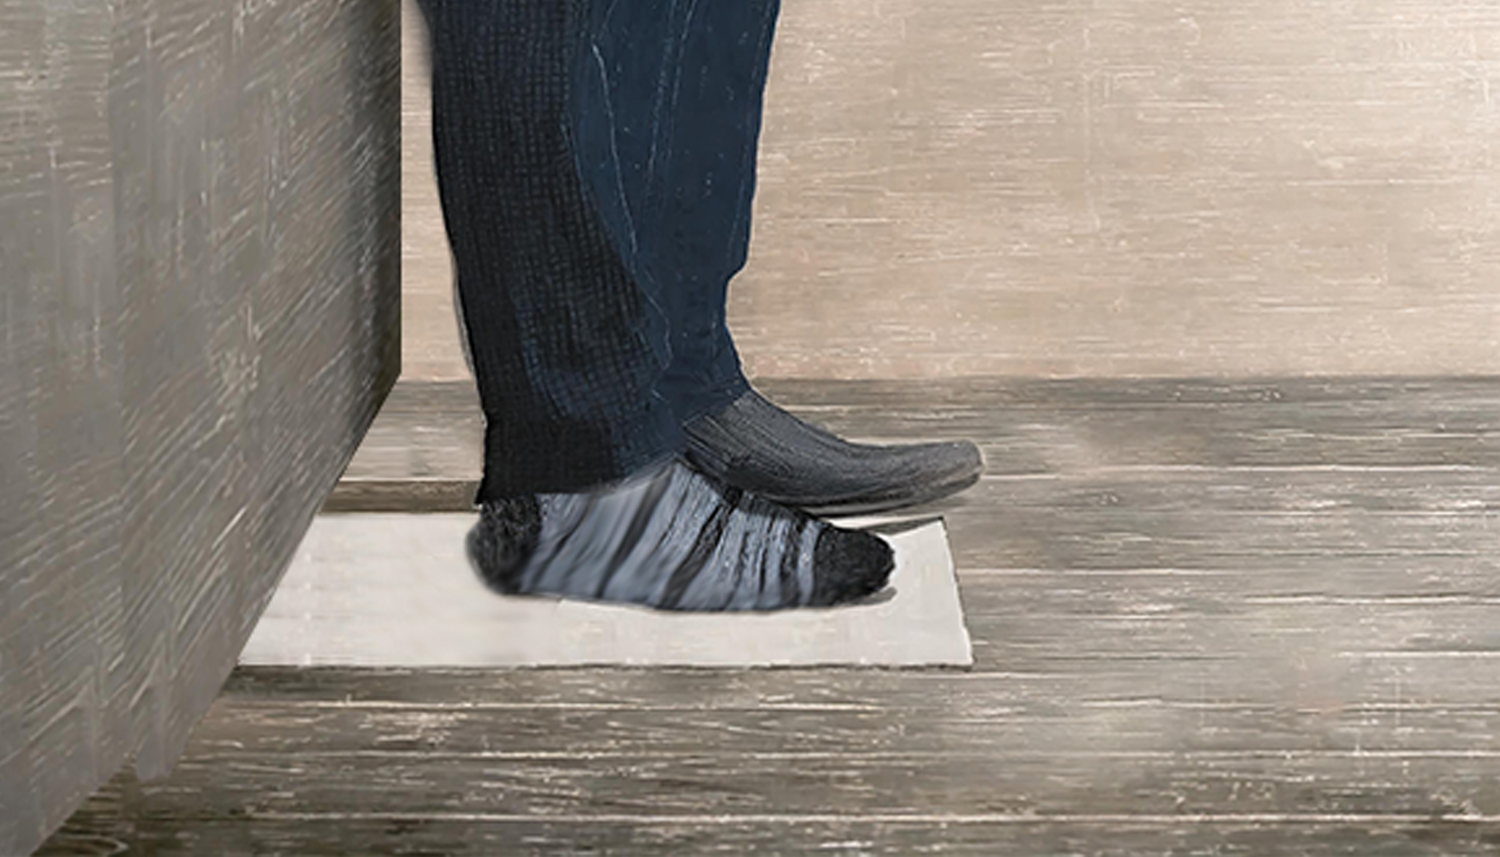
Before you begin, make sure you are wearing some relatively fitted socks, or the socks that you would choose to wear with your new shoes!
You will need: A ruler, a plain piece of A4 paper, a pencil, a wall or flat surface to butt up against, and your feet. Oh, and we threw in a tape measure to make the photo look nice!!!
STEP TWO
The wall
Place the paper up on the floor, making sure it is butted up to the wall and place your heel on the paper and against the wall. TIP: Once your foot is in place, make sure your pencil is to hand!
STEP THREE
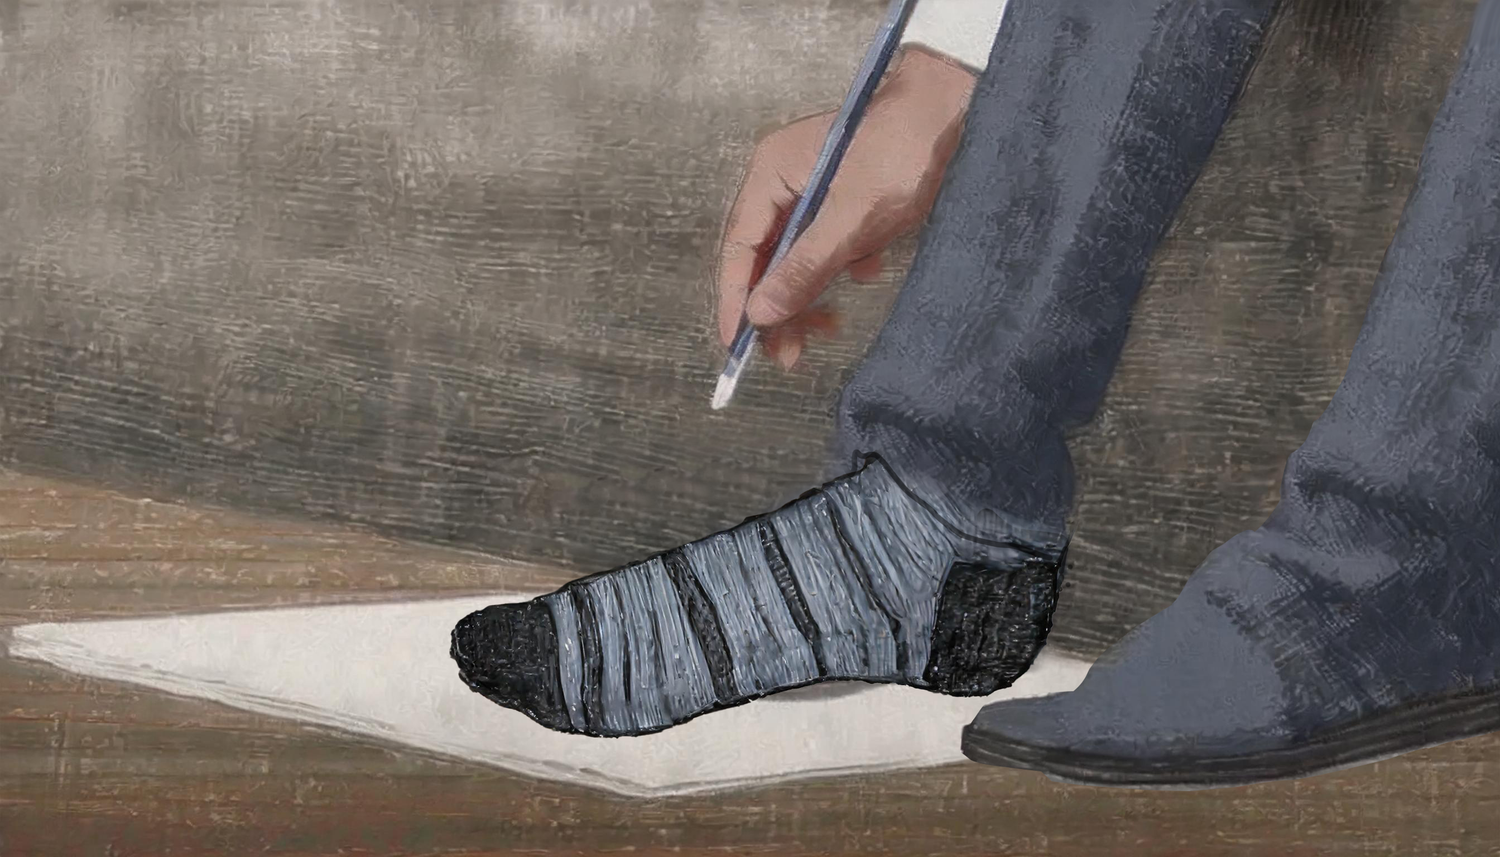
The pencil
Find your inner artist… Drawing around your foot might sound easy, but it might take a few attempts to get it absolutely right. Holding the pencil as vertical as possible, draw around your feet, one at a time.
STEP FOUR
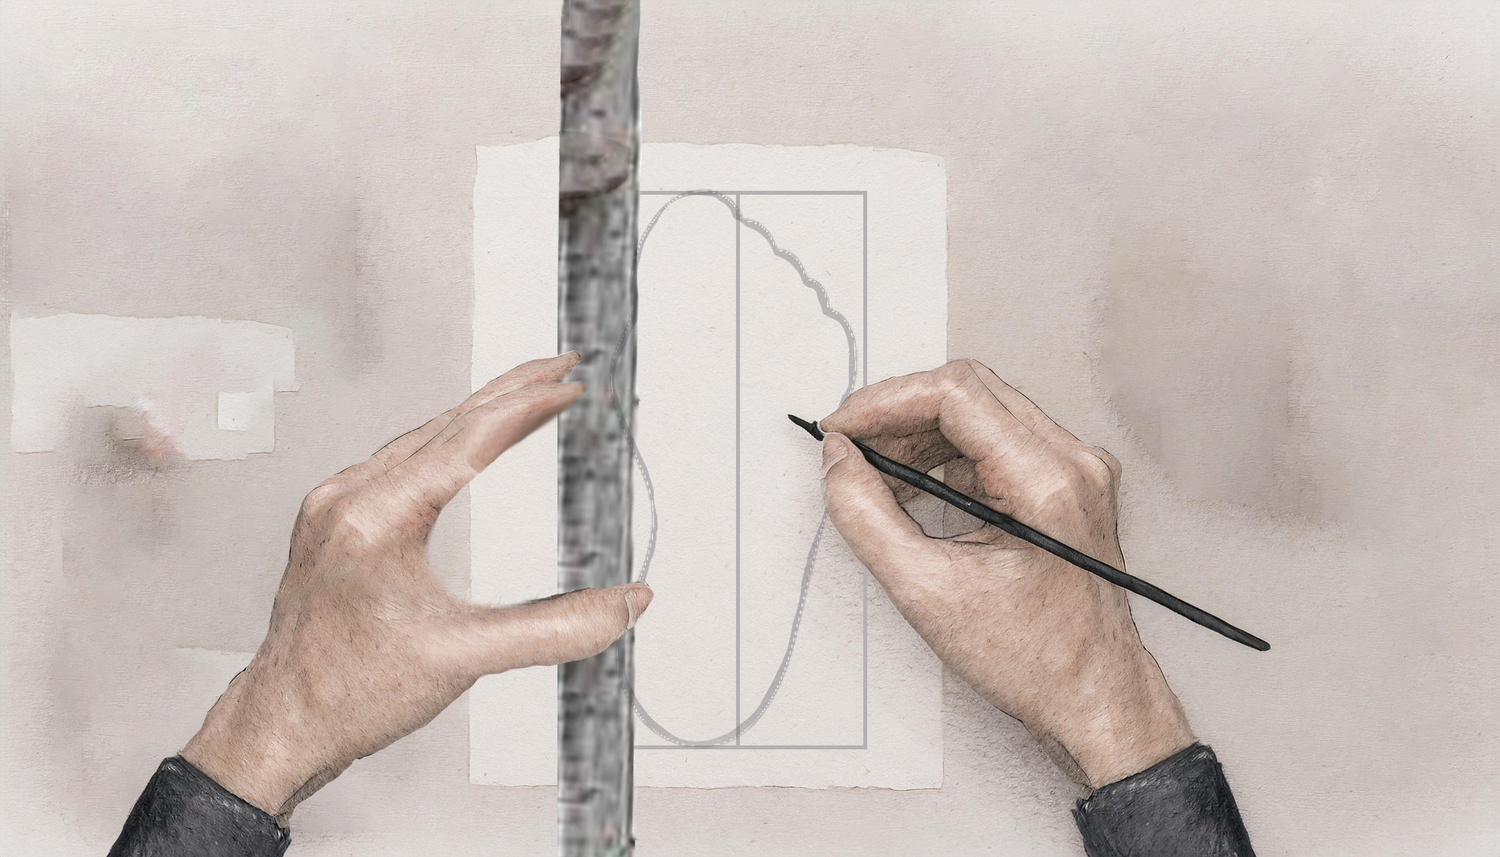
The ruler
Your feet are no longer required (to us!). Now, take your ruler and draw a rectangle around your pencil drawing as per the illustration. The horizontal line should touch your longest toe, the two vertical lines should touch the inside and outside of your foot.
STEP FIVE
The measurment lines
Draw two more lines to form a cross. The first, a vertical line from the bottom of the paper (which was butted up against the wall and now represents your heel) to the horizontal line that forms the top of the rectangle (and touches your toes). The second, a horizontal line that joins up the two vertical lines of the rectangle (that represent the widest points of your feet).
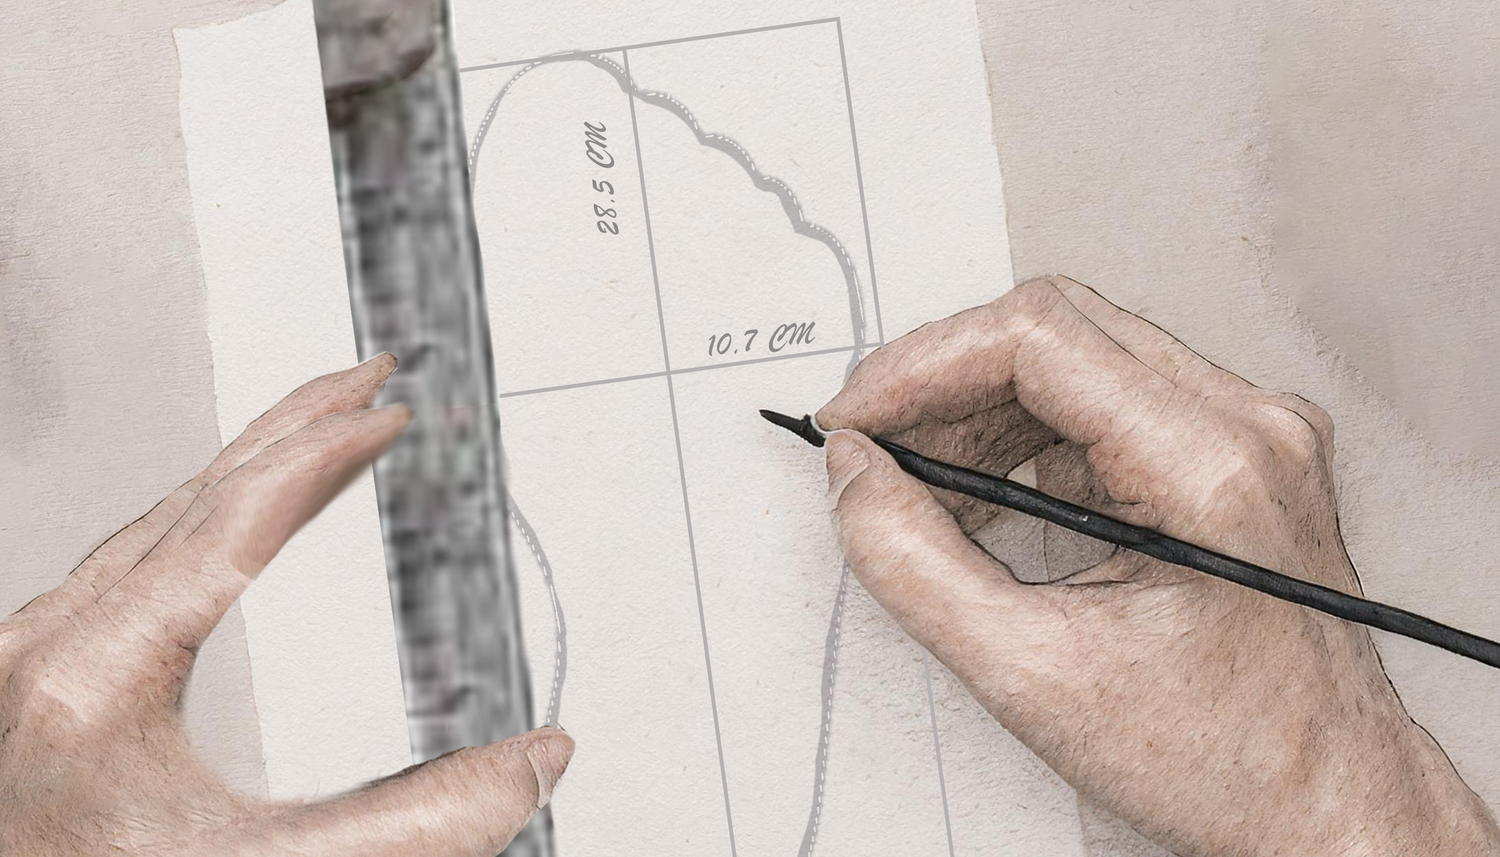
STEP SIX
The important information
Measure (in metric) the two lines which make up the cross. The longest line (vertical) will give you your foot length. The shortest line will give you your width measurement. Measure both of your feet. When sending your measurements to us, please send the measurements of both feet to us.
The next steps...
